Before and after
Before and after food photo gallery: what to evaluate
How before-and-after food photo examples help restaurant teams evaluate enhancement quality, accuracy, and menu readiness.
A before-and-after food photo gallery should help teams judge whether enhancement improved clarity, lighting, crop, and consistency while preserving the real dish.
Judge improvement and accuracy together
A before-and-after example is only useful if it shows both quality improvement and dish accuracy. The after image should be clearer, cleaner, and more publishable, but it should still match what the restaurant serves.
Teams should be cautious of examples that look impressive because they changed the food too much. That may help a demo, but it can damage customer trust in a real menu.
Look for set consistency
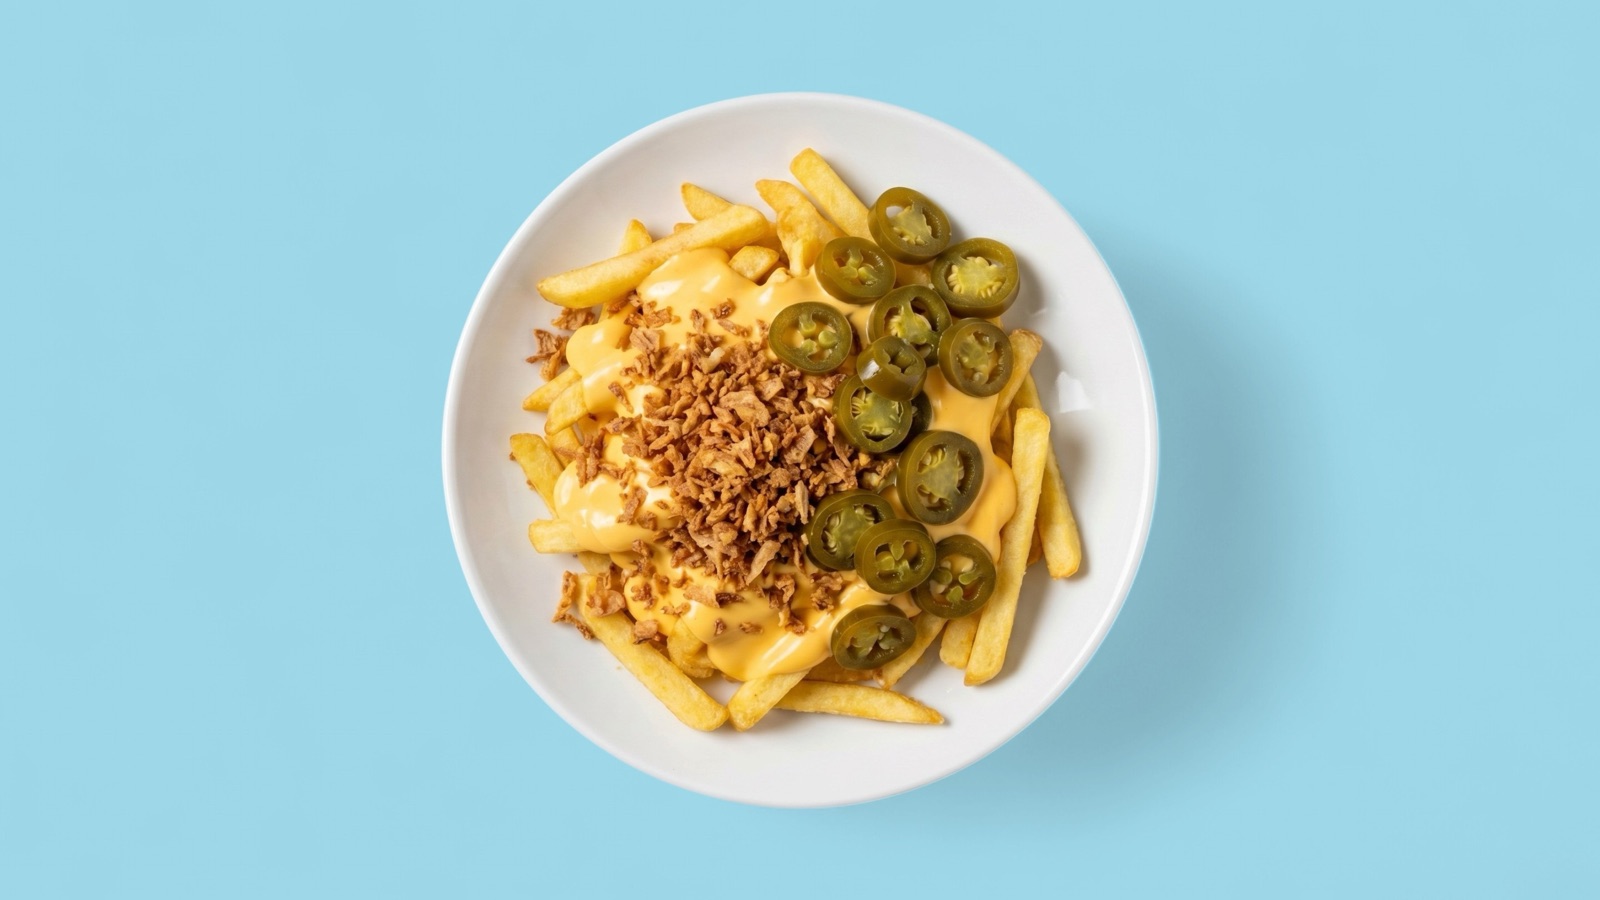
The best gallery examples show that enhancement can work across dish types, not just one hero item. Pizza, sushi, bowls, desserts, drinks, and delivery sides all have different visual risks.
When reviewing a gallery, ask whether the outputs could live beside each other in the same restaurant menu or delivery catalog.
- Lighting feels controlled across examples.
- Crops are practical for menus and listing cards.
- Ingredients and portions remain believable.
- Outputs do not look like generic stock images.
Use examples to brief your workflow
Before-and-after examples are useful for setting a quality bar before a menu refresh. Teams can choose representative images, agree on what good looks like, then apply the same review logic to their own source photos.
Splentify's strongest fit is improving real source images that already show the dish but need better presentation for customer-facing channels.
A good review set should include several dish categories, because the risks are different for glossy sauces, pale bakery items, sushi, drinks, bowls, and delivery packaging.